
Iced Coffee

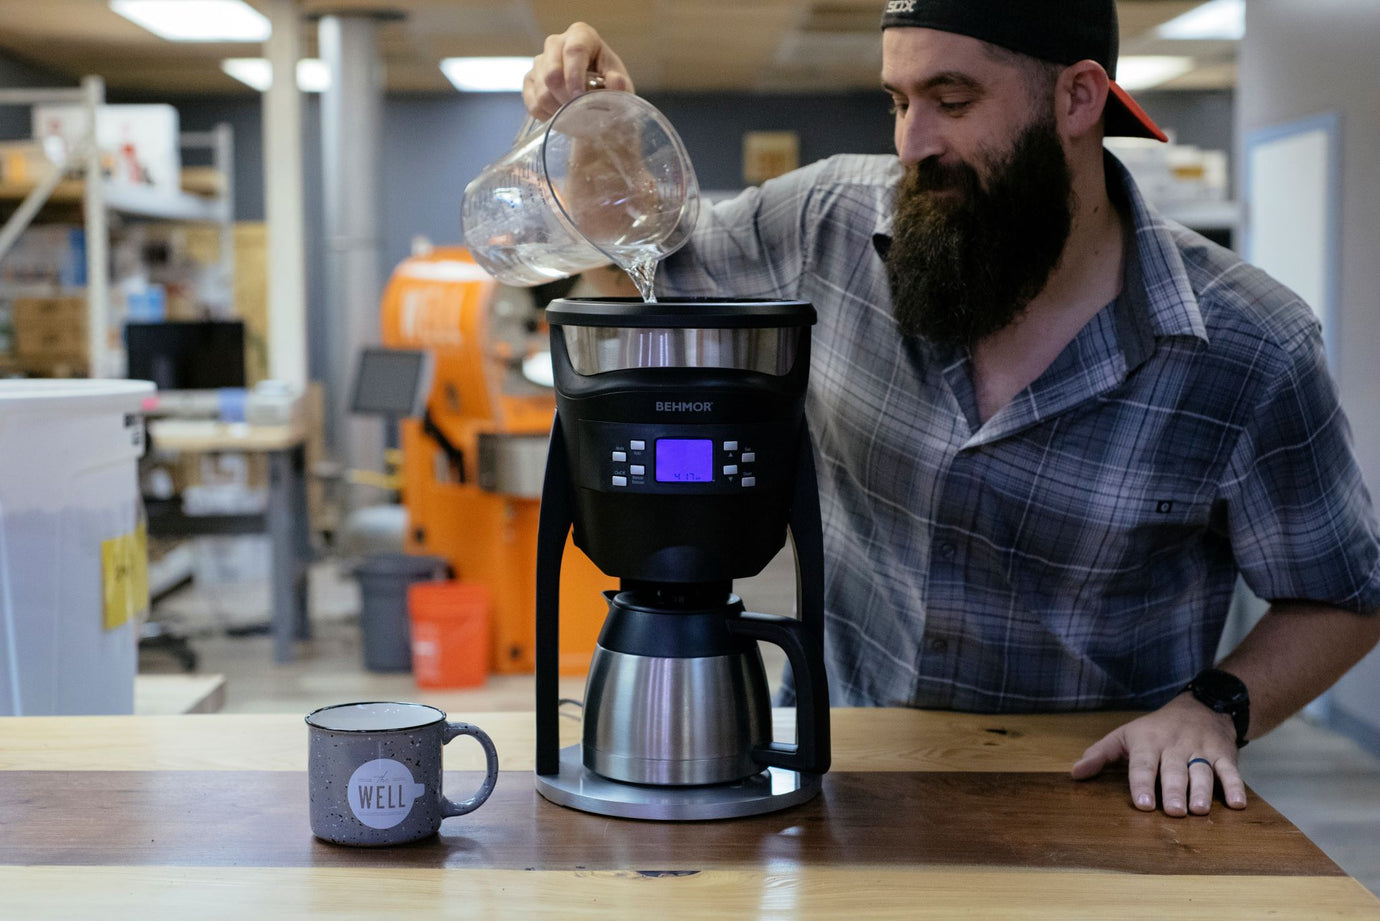
Iced Coffee. For some people it’s a summertime treat and for others it’s just shy of a way of life. There are many shapes, sizes and brew methods for iced coffee. For instance, we use a YAMA tower in our cafes, which allows us to create Cold Brew Iced Coffee. We know that most people do not have access to, nor the capacity to adjust a YAMA tower for 8-24 hours; however, we can show you how to brew up a delicious cup quicker than that.
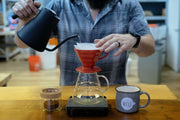
Flash Brewed Iced Coffee, also known as Japanese Iced Coffee is a method of using ice in your normal pour-over method. Without going too far into the weeds with the chemistry, the idea is essentially to instantly freeze the flavors onto the ice trapping in the wonderful, fruity aroma. We find this to be an excellent and efficient way of making iced coffee, particularly suited for the summer months.
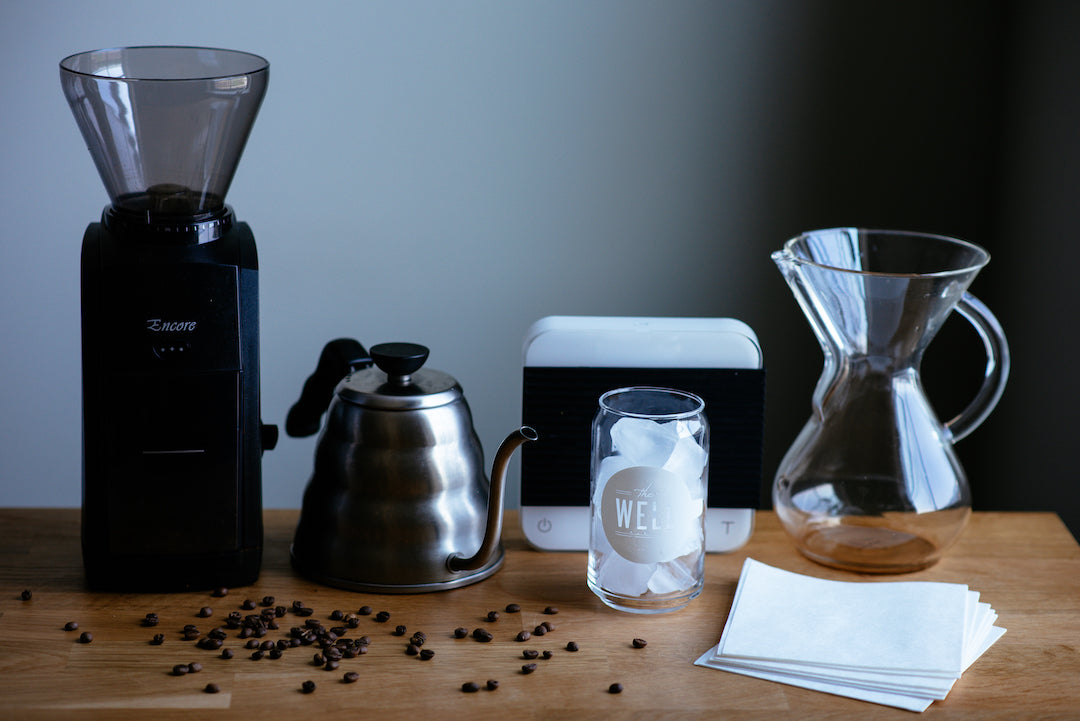
What you will need:
Pour-Over Method of Choice, we prefer a Chemex
Filter
Freshly Roasted Well Coffee
Grinder
Filters
Kettle, preferably goose neck
Ice and Hot Water
Scale
Timer
Mug or Glass
Patience
Brew Time: 3-4 Minutes
Step 1 - Dose and Grind
As for any brew method the amount of coffee will depend on your preferred strength of flavor and the bean density itself. We recommend for a 16oz cup, dose between 30-38g of coffee. The size of the grounds should look about like Kosher salt. For a better experience and more aroma in your cup, grind just before you prepare your coffee. As this method relies on a certain amount of aromatics, it's recommended to use a fresh, fruit forward coffee. After grinding, your coffee loses it’s specialness rather quickly; so you want to keep your unused coffee in whole bean form and out of the sun.

Step 2 - Wetting Filter and Adding Ice
As any water aficionado can tell you, not all water tastes the same. We definitely agree with that. In fact, your paper filter changes your water taste dramatically. It mostly tastes reminiscent of a sweet glue. We don’t like that taste in our cup, and we imagine you won’t either. Fully saturating the filter getting all of those nasty glues tastes out will improve your cup tremendously.

Fold the filter with 3 ends resting on the spout of the Chemex leaving a single end in the opposite direction. Keep pressure on the filter as your pour to seal it into its proper place. Discard the filter water without removing the filter by simply pouring. This is where we diverge a bit from our typical Chemex routine.

Remove your wet filter and add 100g of ice. Tear out the scale to 0. The bigger cubes, the less diluted your cup will be at first sip. Replace your wet paper filter as best you can in it’s original placement. This can be a bit tricky, because it's like putting back on an already wet swimsuit.

Step 3 - Bloom
Add your pre-dosed coffee to the Chemex and give it a gentle shake to level out the bed of coffee. Make sure your hot water is about 30 seconds off boil or around 204-208ºF. Next is one of the trickier parts. Start your timer and with as little water as possible (generally around 30-40g), wet the bed of coffee making sure that everything is fully saturated. Do not tear out the scale to 0. Most of us start in the middle and spiral out. Watch as the fresh coffee will rise and release the gases created in the roasting process, known as blooming. This allows for many of the not-so-tasty aromatics to purge. Begin on the next step between 60 seconds after starting your bloom.

*We intentionally bloom a bit longer with this brew method to fully extract the flavors during our pour. Try to stick close to 60 seconds rather than between 30-60 seconds like usual.
Step 4 - Pour
Now is time for the main event! Start your pour like the bloom by spiraling in and out of the coffee bed. Pour clockwise until you hit a total of 270g on your scale (including bloom). Pour slow, almost painfully slow. Your pour should be as gentle as possible without breaking the stream. Avoid pouring on the filter as well as pouring too heavily in lightly colored areas of the slurry. Try to give it all an even distribution.

If you’re accustomed to making pour-overs, it may feel a little weird not pour a ton of water to finish out due to all of the ice. Keep in mind that any agitation will trap those negative tastes in amber as well. Trust the process!
Step 5 - Clean up and Enjoy!
Once the stream of coffee from the filter starts to stutter and the bed is no longer covered with water, remove the filter and discard. Your timer should read anywhere from 3.5-4.5 minutes depending on the coffee. If your coffee brewed too quickly, make your grind a bit finer. If your coffee brewed too long, make the grind a bit more course.

Add 100g of fresh ice into your glass of choice. Pour directly into your glass and enjoy!

Pro Tip: Coffees with fruitier or floral forward tasting notes tend to be a better choice for flash brewed cups of Iced Coffee, whereas more balanced or nuttier/chocolatier tasting notes can appear more muted with this brew method.
Next article